ImageAnalyzeParticles /F vs /FILL and not full


Hi,
Working an image analysis and particle analysis specifically. I some some difficult images and am working to improve their quality for analysis purposes, but I still need to refine the workflow.
I am looking at a multistep process where I do a first pass to identify the large features and then using particle marker images as an ROI comeback with a second pass to look at features within the larger particle. For this to work I need to use the the fill options to generate a solid ROI of the large feature and there is where things are not quite working. Nothing fancy with the first pass and the inserted command uses the /FILL option as desired. The documentation also mentions an option /F with text very similar to /FILL. What is the difference? There is a note that both cannot be used together.
Function WMAnalyzeParticles(inWave)
	Wave inWave

	ImageThreshold /M=7/i  inWave
	Wave M_ImageThresh
	ImageAnalyzeParticles/D=inWave /W/E/A=500/FILL  stats M_ImageThresh
End
Also it does seem to completely fill. I have used the mark option to highlight specific features and as an example this one did not seem to fill completely.
I am using this to get the marked feature:
Function Mark_Particles(inWave,partnum)
	Wave inWave
	variable partnum

	wave w_spotX
	wave w_spotY

	ImageThreshold/q /M=7/i  inWave
	wave M_ImageThresh
	ImageAnalyzeParticles/D=inWave /Fill/W/E/A=500 /U/l=(w_spotX[partnum], w_spotY[partnum]) mark M_ImageThresh
End
I overlay the M_particleMarker in explicit mode set the color to a semi opaque. Some of the areas did not seem to completely fill.
Recommended next steps?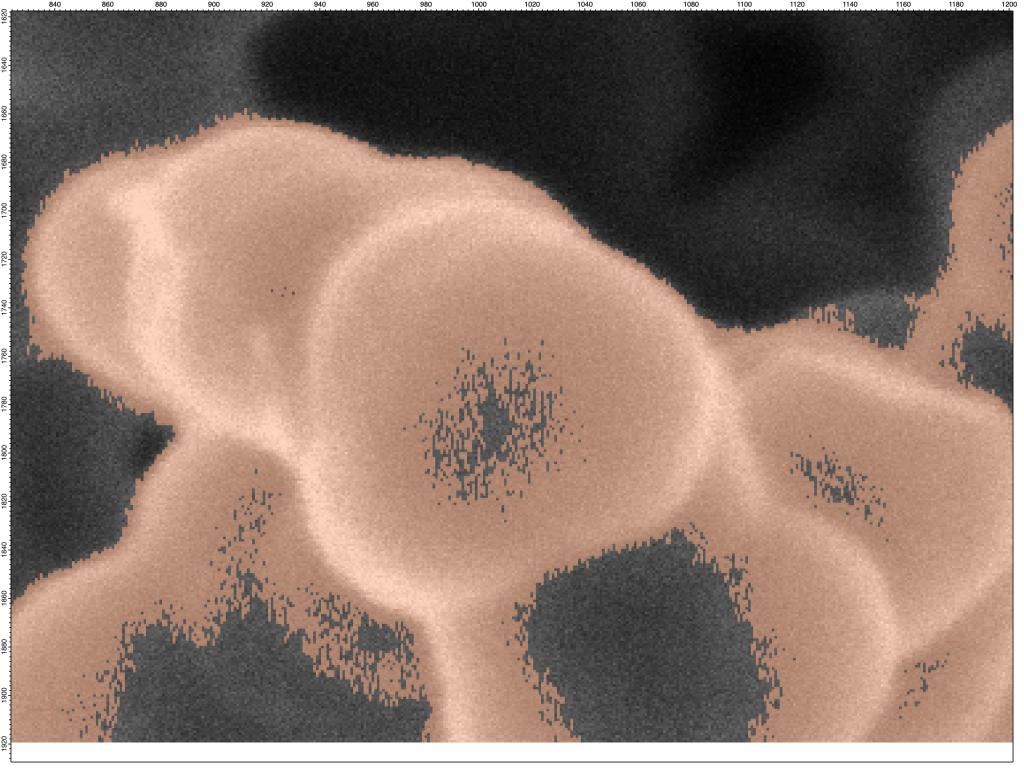
Andy
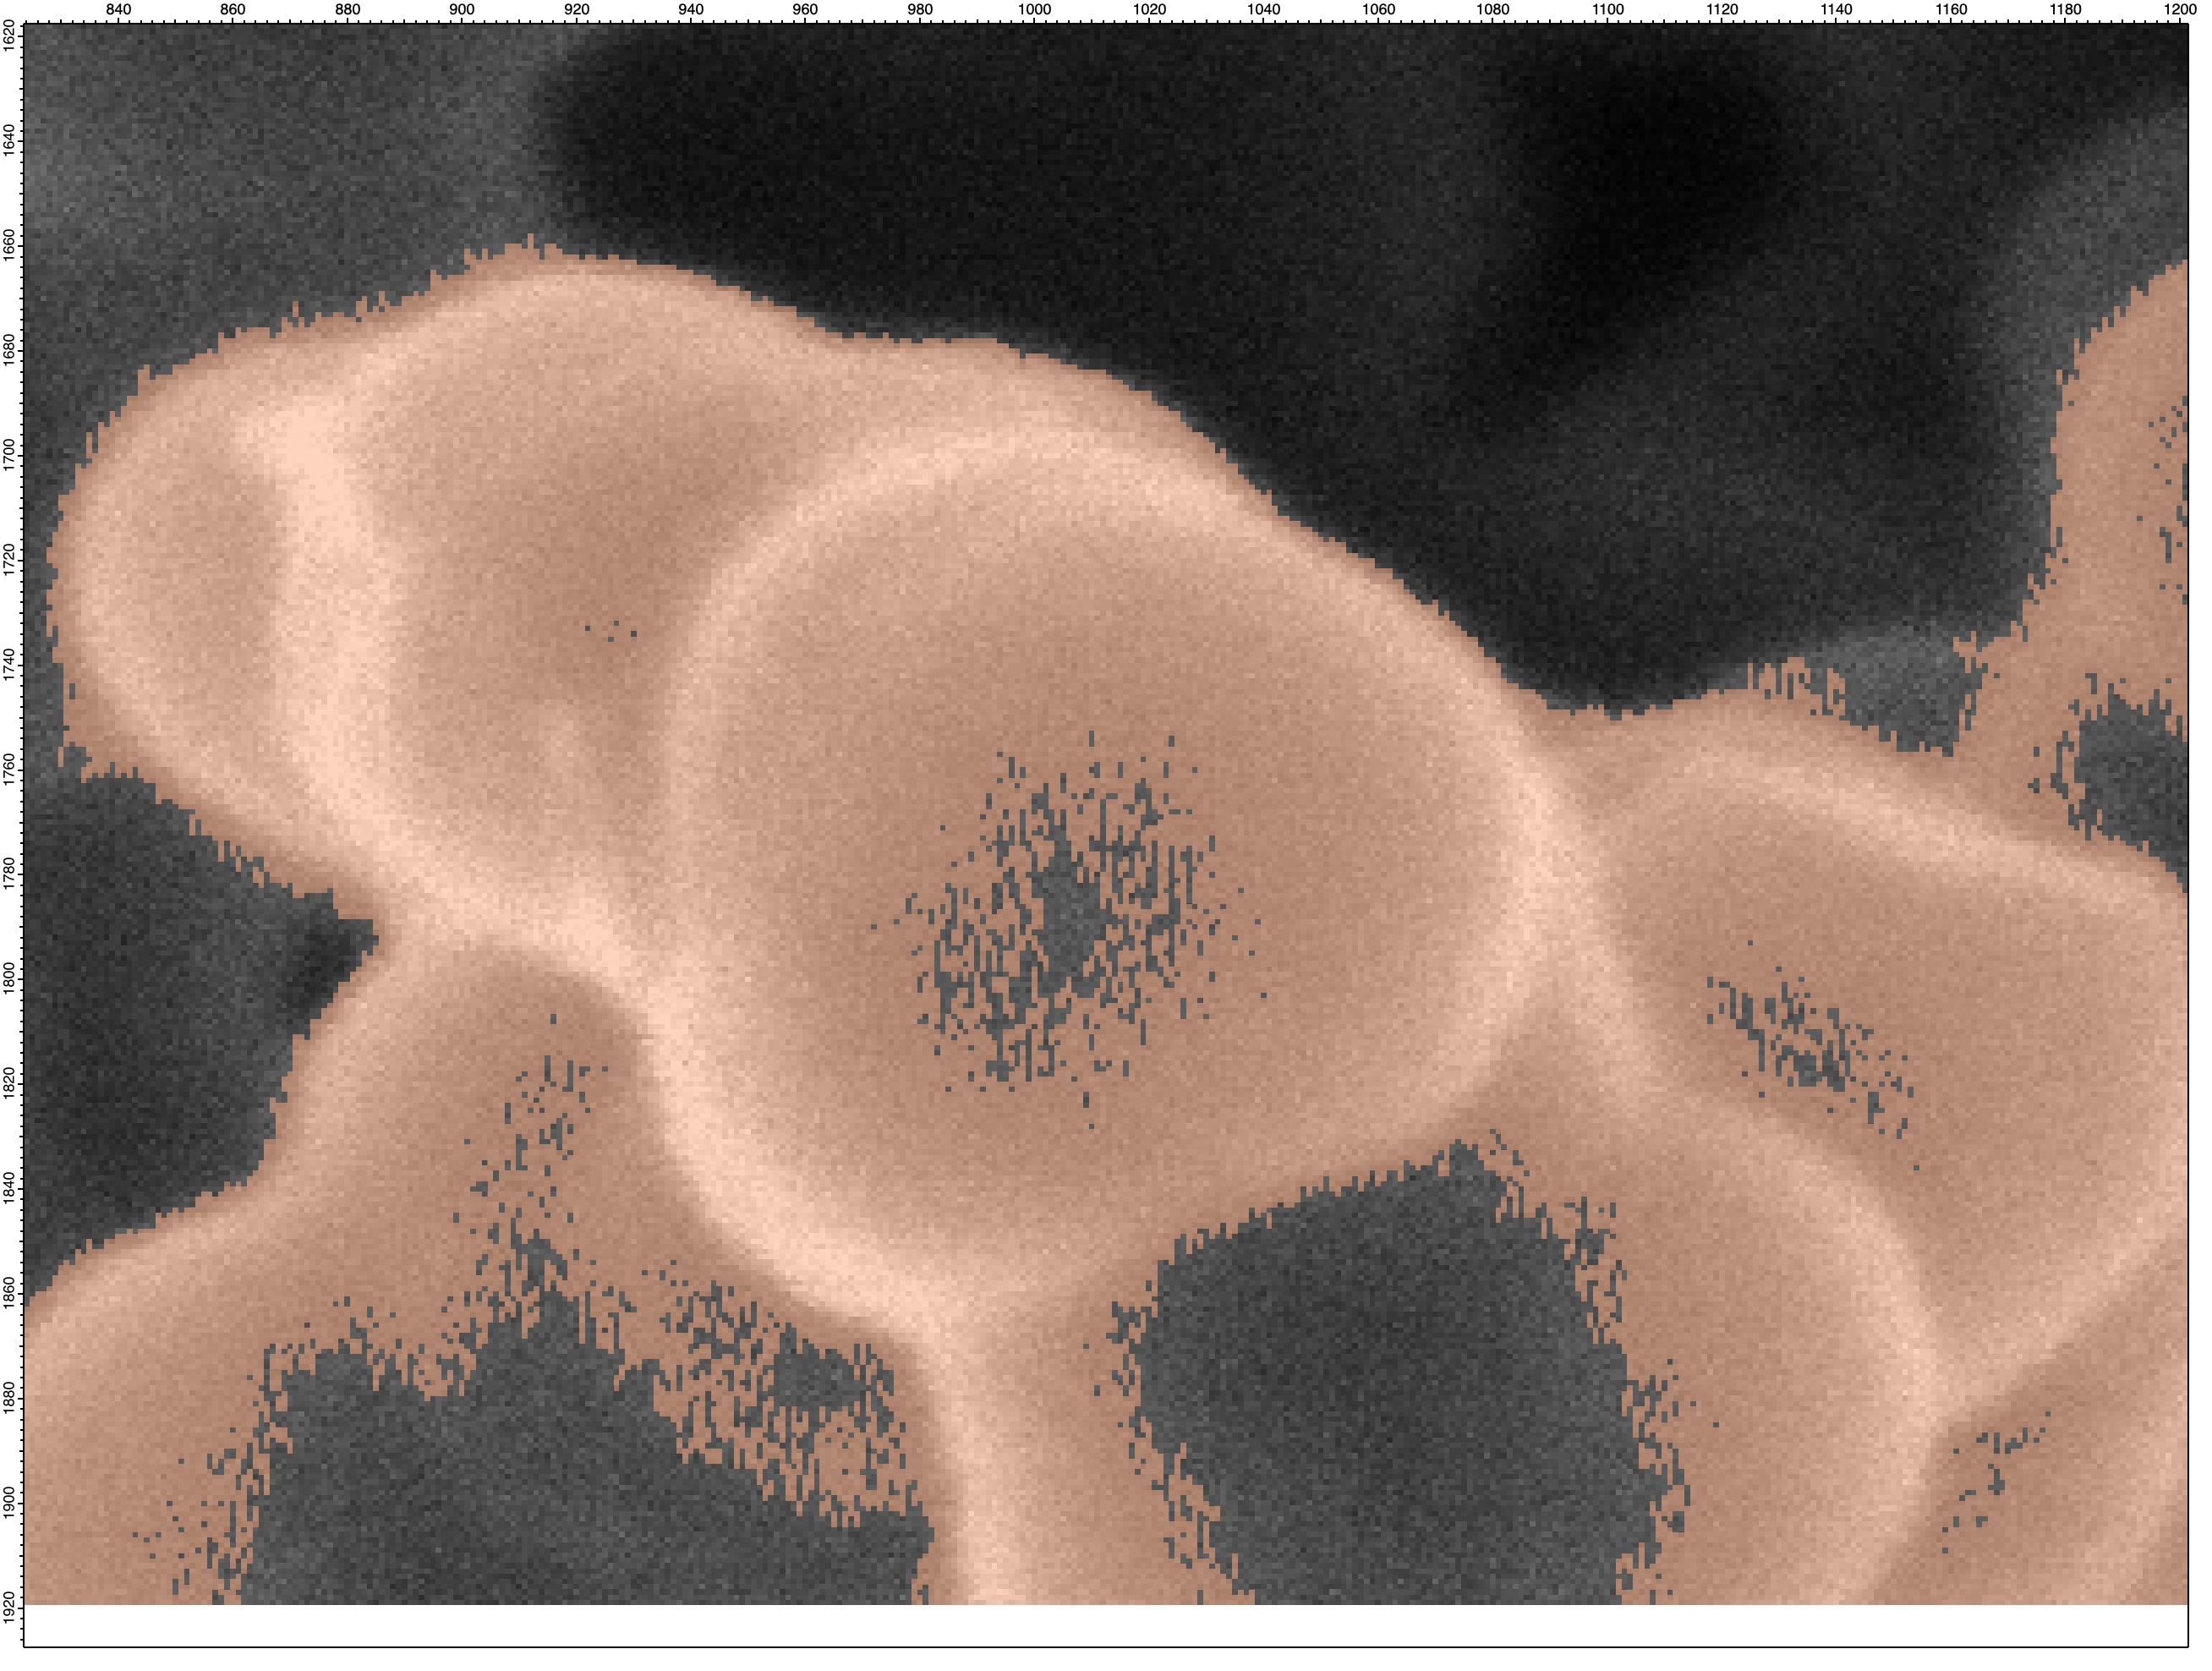
I had to fight/play around with what may be comparable questions doing some image analysis on ring patterns. For example, in the attached image, I want to get the fill area of the pattern.
The approach that I took involved adjusting the threshold value manually and then doing a fill until I obtained a filled blob area. I would typically start with the Otsu method and then go lower on threshold. Whether the pattern would fill or not often depended on switching from one value of threshold to one click lower. For example below, a threshold setting at 80 would not fill the blob, but a setting 79 would fill it. YMMV depending on the histogram and initial automatic method. Also, the sensitivity depended on how flat the overall image background was. A "tilted" pattern might fill around the left sides first before filling around the right sides. AFAIR, the final trick was to assure that the initial threshold operation ended with an entire ring around the RoI that had to be filled in the first step.
The Image Tools package could give you a way to play around with iterations on values without coding. You can also see where the threshold is being set relative to the image histogram. I tried to put the Threshold options on the Processing tab together with just this intent in mind (play around with out coding). Also, you can mask off regions using the first fill threshold and then dig further for the details in the RoI. Caveat .. I can only assure that the processing in Image Tools is robust for grayscale images.
November 30, 2021 at 12:35 pm - Permalink
In reply to I had to fight/play around… by jjweimer
hegedusHi,
One strategy I am playing with is to run the thresholding/particle analysis twice once looking for bight particles and the second time for dark. For your example, I would set the EPBC flag to exclude the area around the feature and then combine the results.
Andy
November 30, 2021 at 01:20 pm - Permalink
So, if I understand ... Find the bright particles. Save. Invert the image. Find the bright particles again. Save. Combine the saved. Is the mask step needed? Alternatively, could you design this in one step with MatrixOP to clip out high and low regions in one step (setting the mid-range to 64 or whatever the NaN image equivalent is and avoiding the need for ImageThreshold twice)? I can envision a panel with two sliders that correspondingly update the lower and upper ranges of the "notch" filter to run the MatrixOP dynamically. Hmmmm ... perhaps something fun for the next iteration of Image Tools.
Caveat -- I guessed immediately after posting that if you require values for the filled regions (e.g. to find particle areas), the slider method will not give you what you need.
November 30, 2021 at 02:49 pm - Permalink
Hi Andy,
First, the reason for /F and /FILL is that /F came first. Some years later, I implemented a new algorithm. In order to maintain backward compatibility, I kept the flag though I recommend using /FILL in all new code.
I did not see in your approach any attempt to employ image morphology to improve the image. This is one of the tools that is typically used when trying to improve binary images.
Feel free to email me a sample image if you want me to provide more specific suggestions.
A.G.
November 30, 2021 at 04:50 pm - Permalink